Question: What should the interior of a 1970’s T2 Camper Van look like?
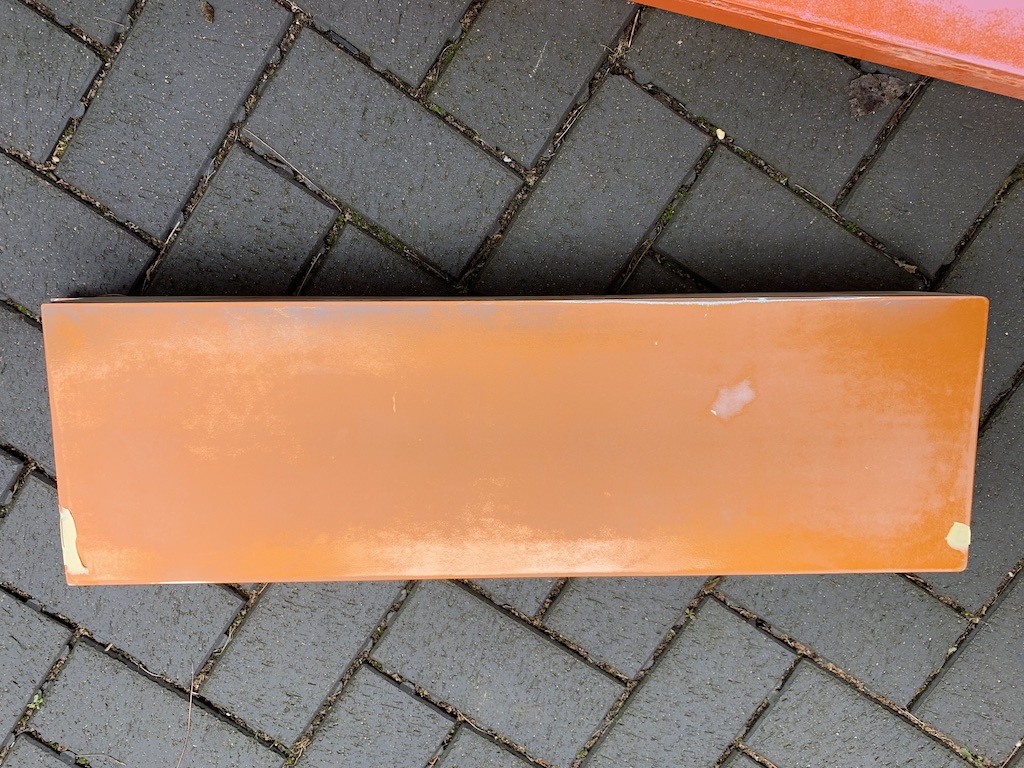
Answer: In my case Mexican Orange!
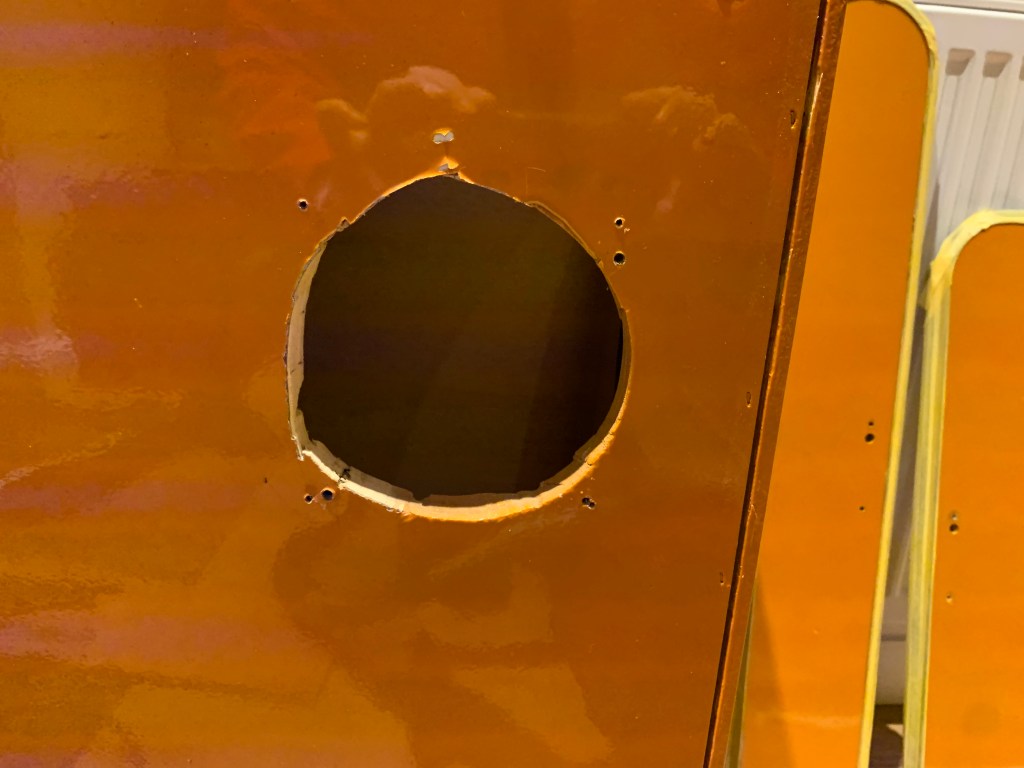
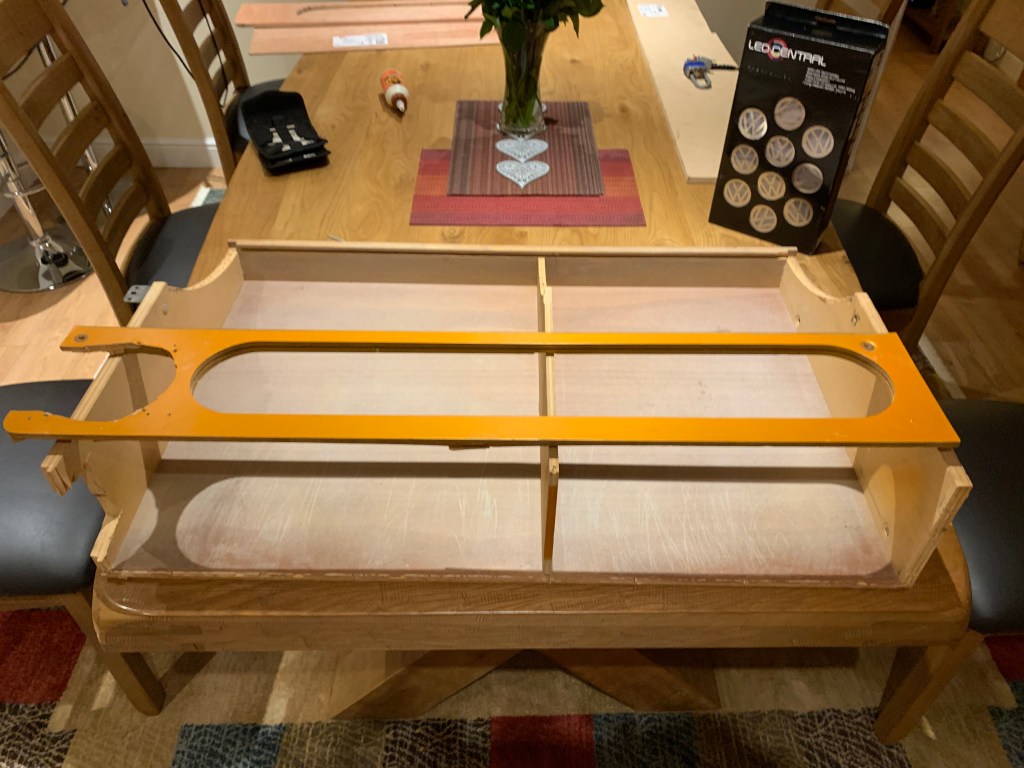
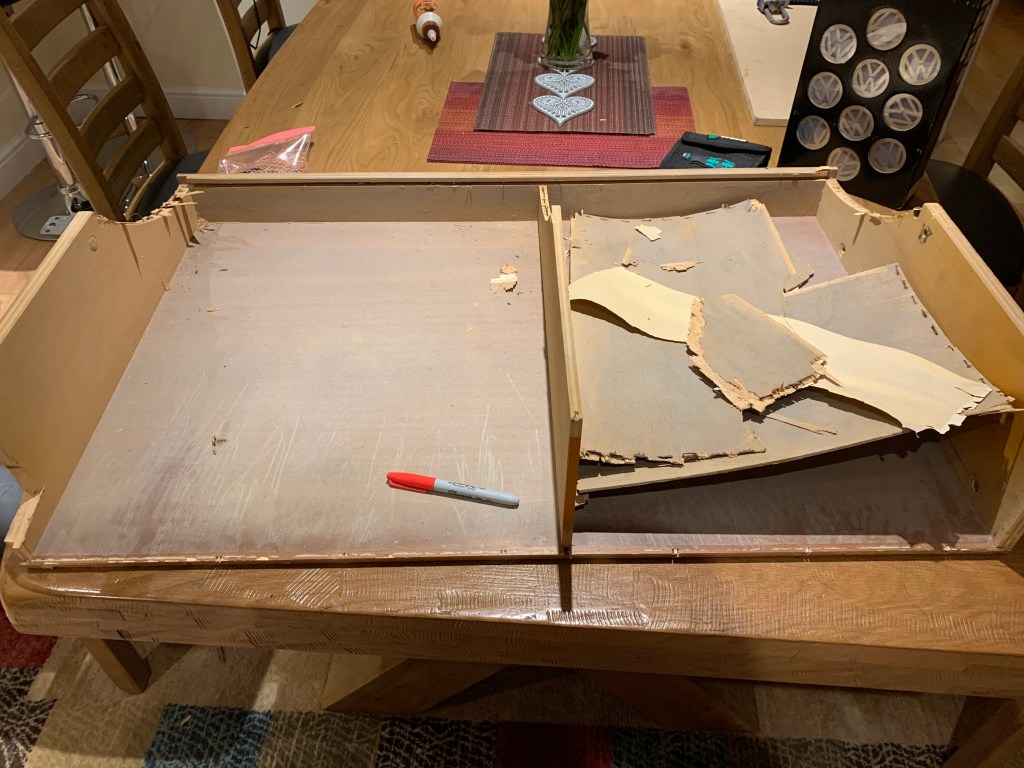
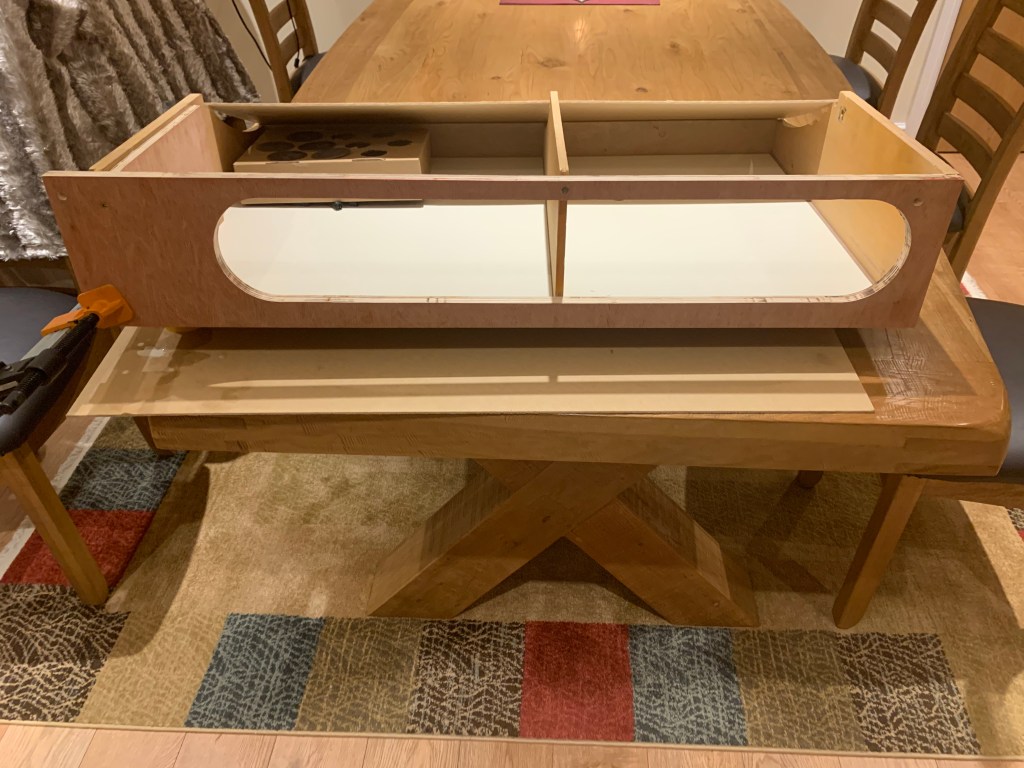
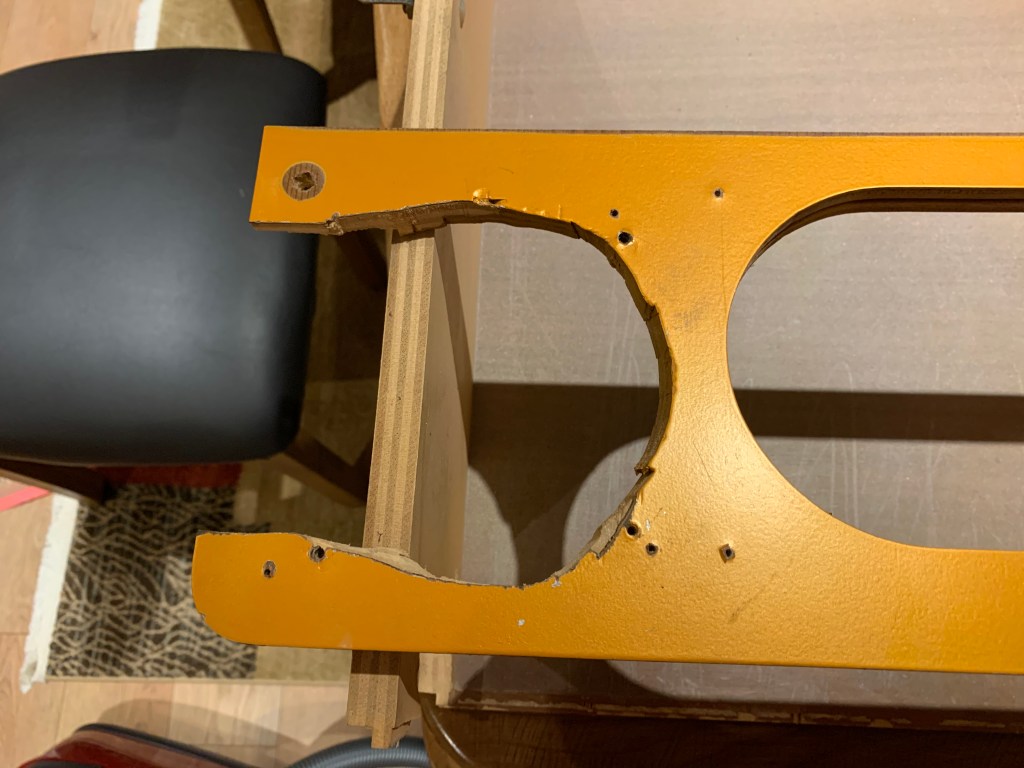
My campers’ interior is the original, stock, Westfalia suite. It’s complete, but shabby. Everything had been sprayed orange by hand very badly, and there were holes absolutely everywhere (some of them 8 inches wide!). Some cabinets prove better than others, some have their own complete remodel by the PO’s and have been royally fucked up. In the picture below for instance, one of the PO’s had decided to fit a speaker (this is fine – your van, do what you like), however, the method of installation is quite simply the shittest job I have ever seen. There was another example of this on the cabinet with the three compartments and mirror inside the door, completely unrepairable, this one I rebored and installed a lovely barometer from an old ship. Not what I originally had in mind, but visually it works well. The next few months of my life were going to be consumed by cabinet restoration, not a job for the faint hearted and be prepared to have orange dust or paint in every nook and cranny of your being!
Firstly, I made the decision to keep the entire original Westfalia cabinetry, if you choose this path of restoration it does include buying a lot of spares from NLA VW Parts and needless to say you will need a huge amount of time and patience. This is not for everyone, although the end result was extremely pleasing to me and I found the process of restoration extremely therapeutic. Below outlines the process I undertook along with some photo’s. It took me around 4 months to restore the complete interior, I will update the page with a completed interior photo shoot in the next couple of weeks once I have installed the lights. Hope you enjoy!
My Restoration Process:
Equipment Needed:
- Palm Router with Bits (My preference is Makita)
- Palm Orbital Sander
- Range of Paper from Grit 40 to 4000
- Filler Primer
- Primer
- Paint of Choice (I opted for a water-based Satin Finsih which I had matched to the Orange of the Exterior – if you can get Tile Paint that matches even better)
- Measuring Tape.
- Plywood to match Cabinet Width you are Restoring.
- Drill, Bits (Various) & hole cutters.
- Screwdriver (Posi and Flat Bits)
- Body filler.
- Masking Tape.
- Workmate.
Process Minor Paint Repairs:
- Firstly, remove all of paint material using Grit 40 paper, followed by Grit 80 paper. Be prepared for a lot of mess!
- You should now be able to identify all imperfections in the cabinetry and fill with Body Filler. Inevitably there will be a lot of these, take your time and do this well – you will reap the rewards of a bit of patience here at later stages.
- This should solidly within and hour, re-sand with Grit 120 paper. You should now have a decent surface to begin the paintwork, however wipe with a wet cloth under a light and recheck for imperfections. Re-Fill if necessary and repeat this step.
- Now spray with Filler Primer (I got mine from Halfords – it helps with the very minor imperfections that are still remaining). Should take no longer than 2 hours to dry. I normally apply 3 coats.
- Follow this with a very light sanding to remove imperfections – Grit 240 plus.
- Follow this with more standard Primer.
- Allow to dry overnight and give everything a good wipe and allow to dry.
- I have decided to paint the cabinets opposed to spray them. The finished texture to me was a lot more appealing and with a lot of patience finishes well. Apply Paint Mix with a Gloss Roller – here I used a Water Based Gloss Roller, they are usually orange and sponge, I use a small 100mm roller for everything. Apply many light coats, I normally apply a minimum of 5. When rolling apply little to no pressure on the roller ensuring the smoothest possible finish.
- Leave for 4-5 days to harden.
- T-Cut any inconsistencies – again do not be too heavy handed here.
- Next I apply a high gloss car polish (the most expensive I can find) and sand with a 4000 Grit Paper. You should end up with as perfect a finish as you can get by hand.
- PATIENCE & METICULOUSNESS is the secret to success. Have fun – once completed the finished job should last you the life time of the vehicle.